Database designs and linked tables
Database designs
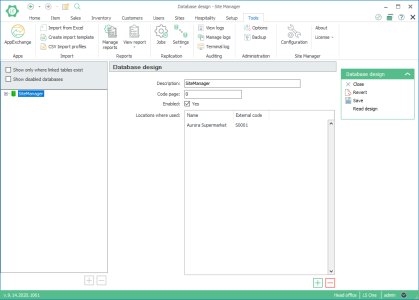
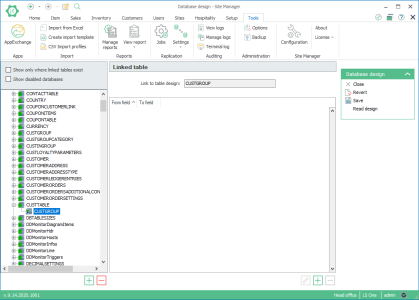
Database designs can read in the Distribution location view (Distribution Locations). To view all database designs and create linked tables go to General setup > Replication > Database designs.
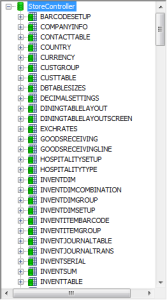
On the left hand side is a tree view showing all database designs. Expanding a database design in the tree view will show all table designs that belong to the database design. Two checkboxes control what information is displayed in the tree view:
- Show only where linked tables exist. When this is check marked, only table designs having linked tables will be shown.
- Show disabled databases. When this option is check marked, the tree view will include database designs that have been marked disabled.
Once a database design is selected in the tree view, the middle part of the view will show details on that database design.
In the tree view, expand a database design to see all the tables in that design (provided that the Show only where linked tables exist option is not check marked).
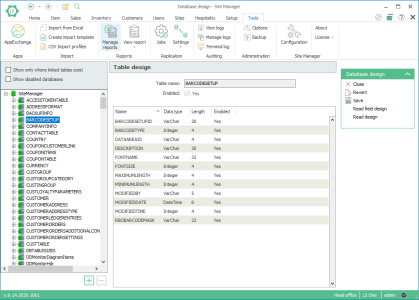
Selecting a table design brings up details on the table design in the middle part of the view.
The details of the table view cannot be edited. However, you can read (or re-read) the field design of a table by clicking the Read field design button to the right.
Linked tables
By expanding a table design in the tree view, any linked tables that belong to the table design are shown. A linked table is a table that has any kind of relation to the main table. For example, an Orders table could have a linked table called OrderLines. In this example, when the Orders table is replicated, all the relevant rows in the OrderLines would be replicated automatically. In this example, the job only needs to include a subjob for the Orders table; no subjob is needed for the OrderLines table. Use the add  button to create a new linked table, and the remove
  button to remove a linked table.
Linked table example
To demonstrate how to add linked tables we are going to add a linked table for the reference between the CUSTTABLE and CUSTGROUP tables. The CUSTTABLE table represents customers and the CUSTGROUP table represents customer groups. A customer can optionally belong to a customer group. A customer group can have zero, one or more customers in it.
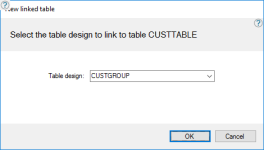
Select the CUSTTABLE in the tree view and click the add  button. The New linked table dialog box appears.
Select the CUSTGROUP table in the Table design field and click OK. In the tree view, a new node appears under the CUSTTABLE node for the CUSTGROUP table and the middle section of the view now shows details on the new linked table.
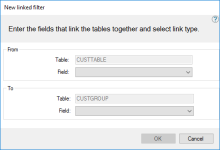
The linked filters list is empty for the new linked table. Click the add  button to add a new linked filter. The New linked filter dialog box appears.
The From box shows the table and field where the reference originates. The Table value is fixed on the CUSTTABLE table design. In the Field field select the CUSTGROUP field.
The To box shows the table and field being referenced by the table and field in the From box. The Table value is fixed on the CUSTGROUP table design. In the field Field select the CUSTGROUP field.
Click OK to create the new linked filter. Note that the linked filter list in the Database design view now shows the new linked filter.
| Last updated: | 29th November 2016 |
| Version: | LS One 2016.1 |
